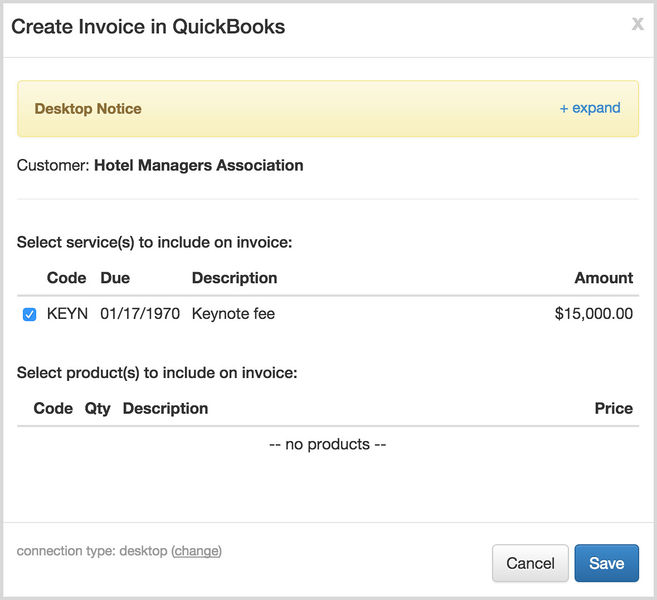
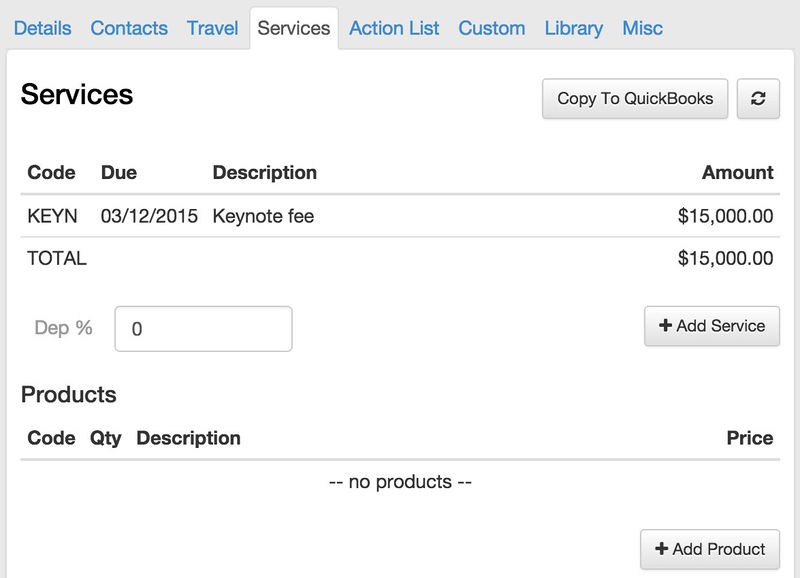
PRESENTER The eSpeakers App can talk to QuickBooks Online or QuickBooks Desktop to automatically generate invoices from your services and products. This is done when you use the “Copy to QuickBooks” button on the SERVICES tab.
Answers to Some Frequently Asked Questions: #
- QuickBooks integration is included in your eSpeakers PRO account.
- Both QuickBooks Online and QuickBooks Desktop are supported.
- For QuickBooks Desktop, only Windows based computers are supported.
- All major editions of QuickBooks Desktop are supported (Pro, Premier, Enterprise, etc).
How do I Integrate With QuickBooks Online? #
Integrating with QuickBooks Online is incredibly easy and should take you less than 2 minutes to get up and running.
- Within your eSpeakers MY EVENTS area, navigate to the SETTINGS page (click on your username on the top right corner and then click on the settings option).
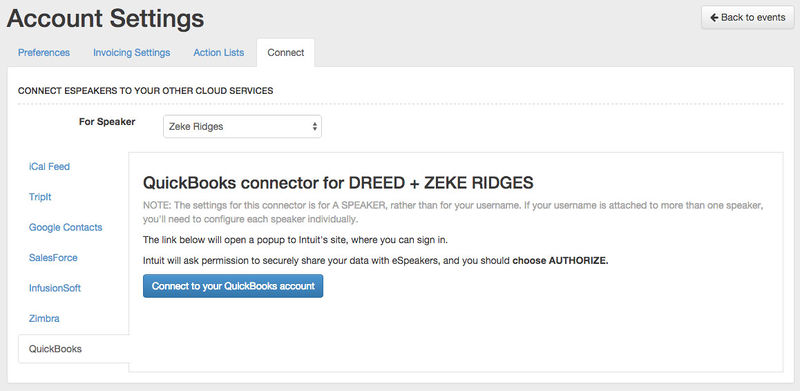
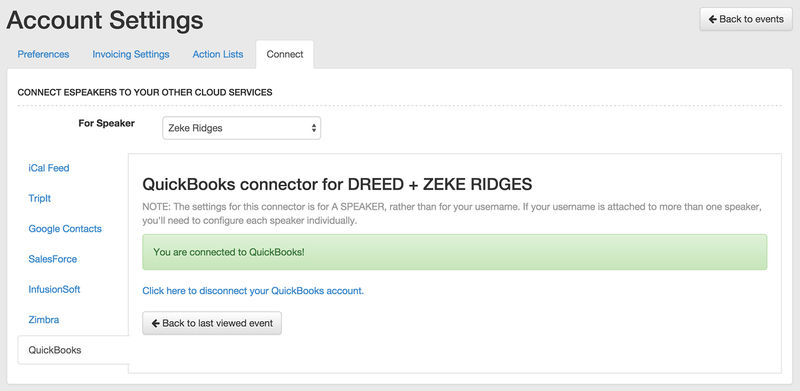
- On the settings page, navigate to the CONNECT tab, then the QUICKBOOKS tab, and then click on the “Connect to your QuickBooks Account” button.
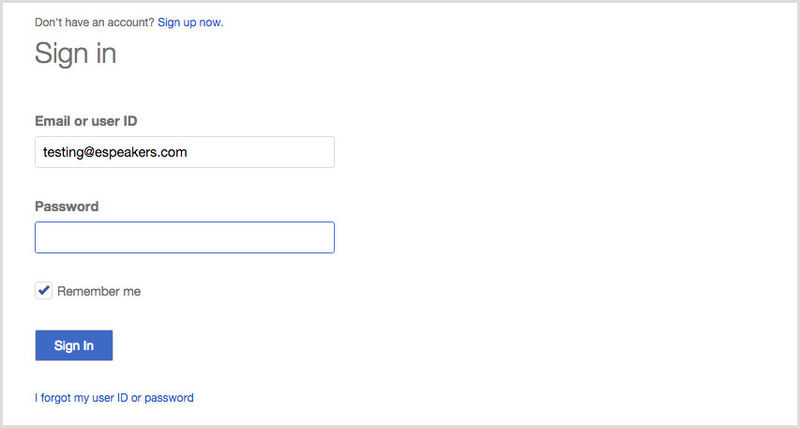
- Sign in to your Intuit account (if you are not signed in already).
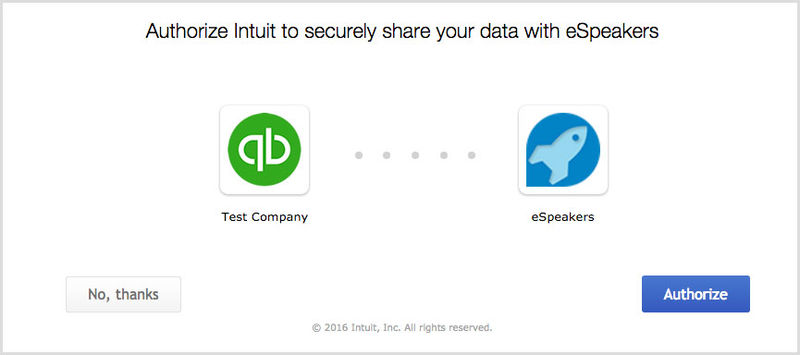
- Click on the “Authorize” button.
- The page should now refresh and show you a message indicating that you have connected successfully.
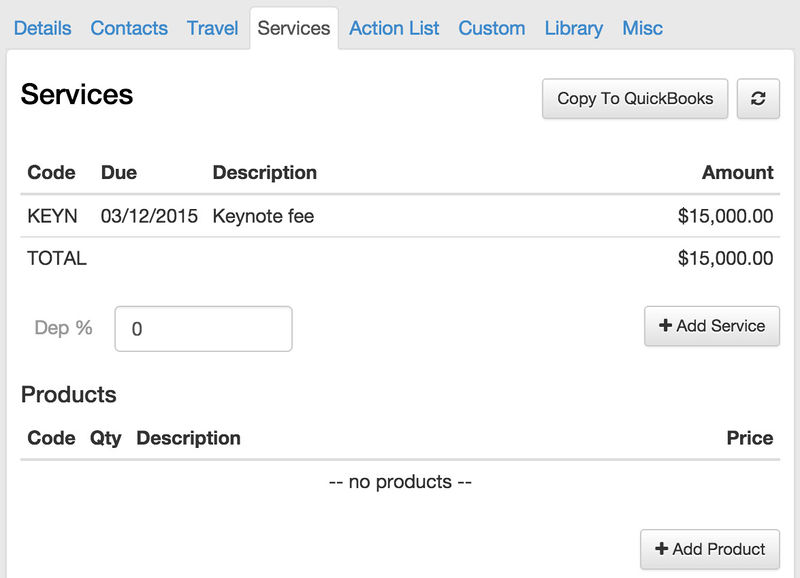
- Go back to the MY EVENTS main area and select an event that has at least one service/product added. Navigate to the SERVICES tab and then click on the “Copy to QuickBooks” button.
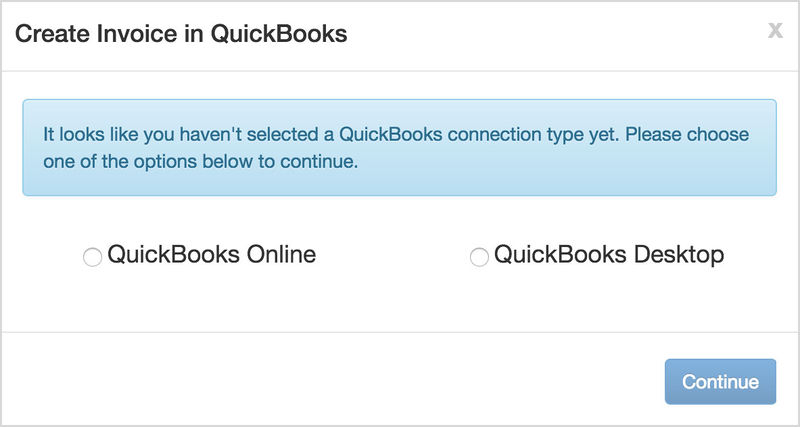
- Select the QUICKBOOKS ONLINE option then click on the “Continue” button. (you will only have to complete this step once)
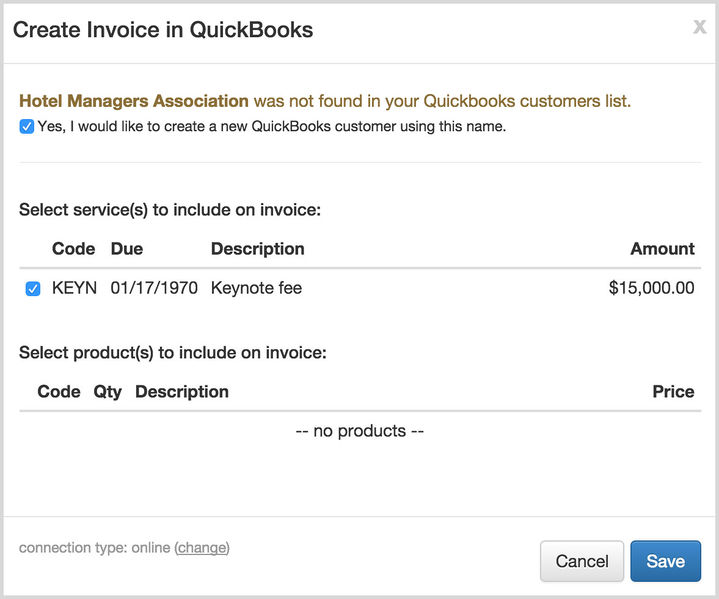
- Select the services and/or products that you want included on the invoice and then click on the “Save” button. Your new invoice has now been created within your QuickBooks Online account!
How do I Integrate with QuickBooks Desktop? #
Integrating with QuickBooks Desktop is simple and easy, you should be up and running within 5-10 minutes.
- Download and install the QuickBooks Web Connector software. On the downloads page, carefully select the correct version based on the edition/year of QuickBooks Desktop that you are running. You can download the QuickBooks Web Connector software
here
. - Download the eSpeakers QWC file
here
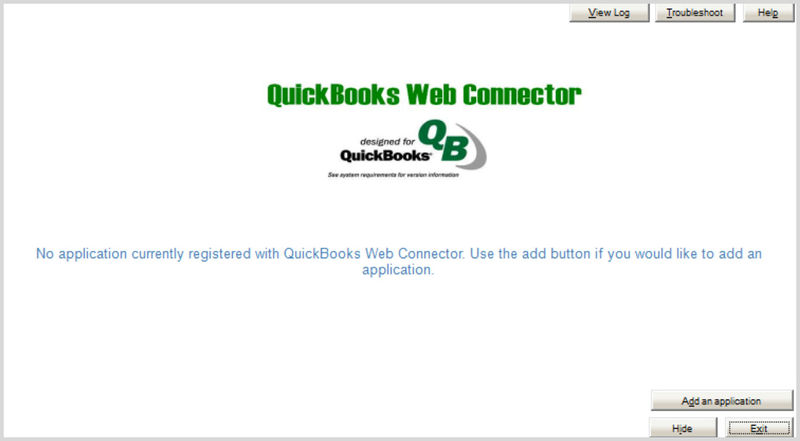
(you will need to be logged into your eSpeakers account to access before the download will work). - Open the QuickBooks Web Connector program and click on the “Add an application” button. Select the eSpeakers QWC file that you just downloaded and follow any onscreen prompts until the eSpeakers QWC application has been installed successfully.
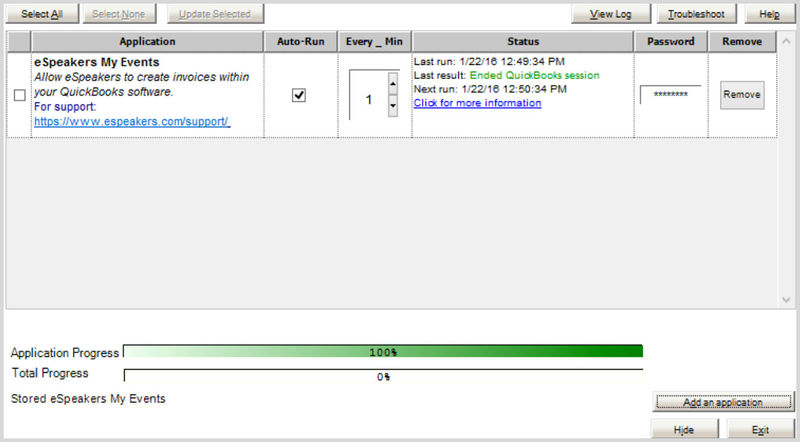
- Now that the eSpeakers QWC application has been installed, you will need to set your desired “Auto-Run” and run frequency settings. You will also need to enter your eSpeakers account password into the “Password” field. The QuickBooks Web Connector application should now be configured and ready to accept new invoice creation requests.
- Go back to the MY EVENTS main area and select an event that has at least one service/product added. Navigate to the SERVICES tab and then click on the “Copy to QuickBooks” button.
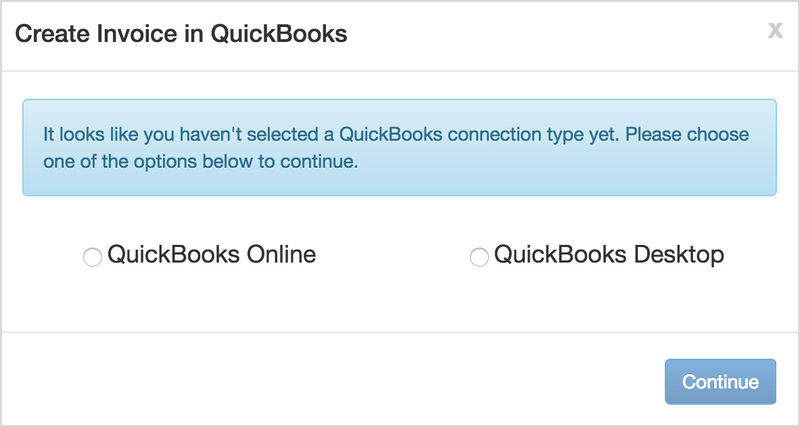
- Select the QUICKBOOKS DESKTOP option then click on the “Continue” button. (you will only have to complete this step once)
- Select the services and/or products that you want included on the invoice and then click on the “Save” button. Your new invoice has now been queued and will be created within your QuickBooks software when the QuickBooks Web Connector next runs.